
")
")
Completion of the loading module
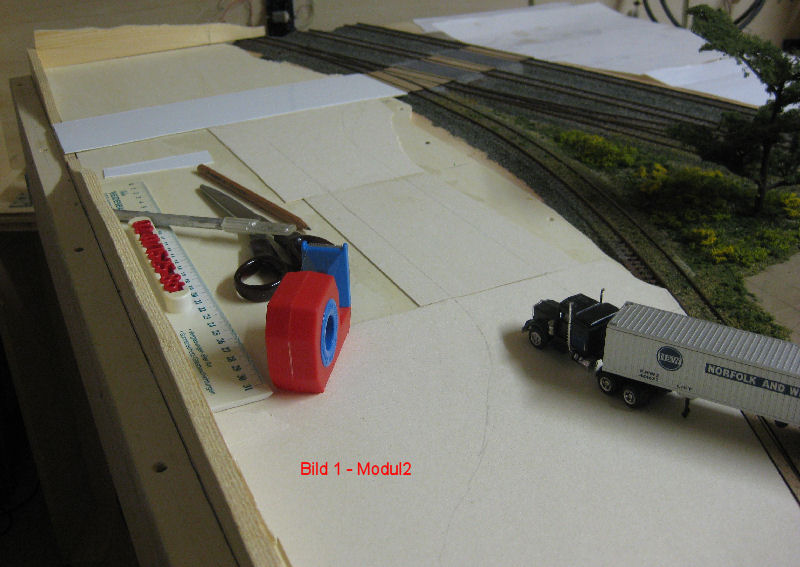
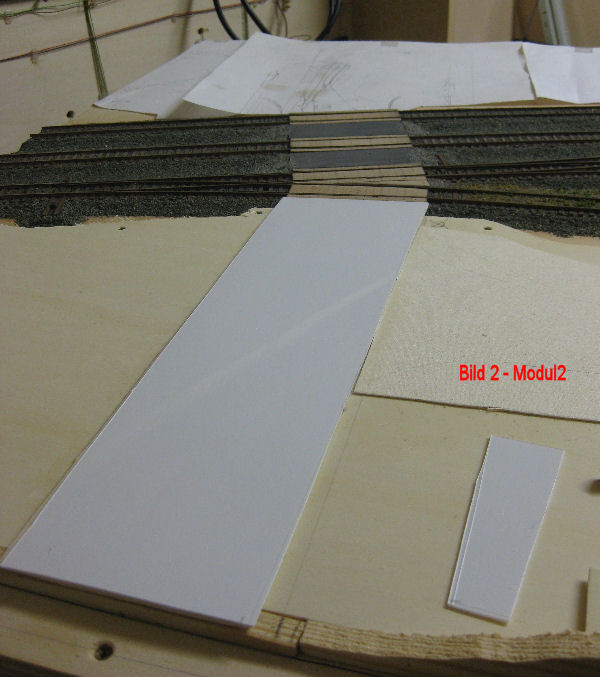 Fig. 1 - After (almost) completing the turning heads, we continue with the completion around the loading module 2. Here, the rear edge and the road with level crossing in the foreground still need to be designed. In the background, the road leads from the railroad crossing to the edge of the module. A branch leads from the road to the level crossing of the loading road. Near this level crossing, a loading ramp will also find its place. First, the rear terrain structure was made by means of a sawed-out wooden strip. At the end of the module, a finishing strip (yet to be) sawed to fit will be attached. Using a previously made paper template, a 6mm paper plywood plate was cut out to fit as a base and screwed on. On top of this was partially glued a 1mm Finn cardboard for the road, path and loading ramp base. The roadbed was cut out of a 1mm plastic sheet. This provides the exact height in the area of the level crossing. The tools used can be seen in picture 1.
Fig. 2 - A close-up view of the roadbed.
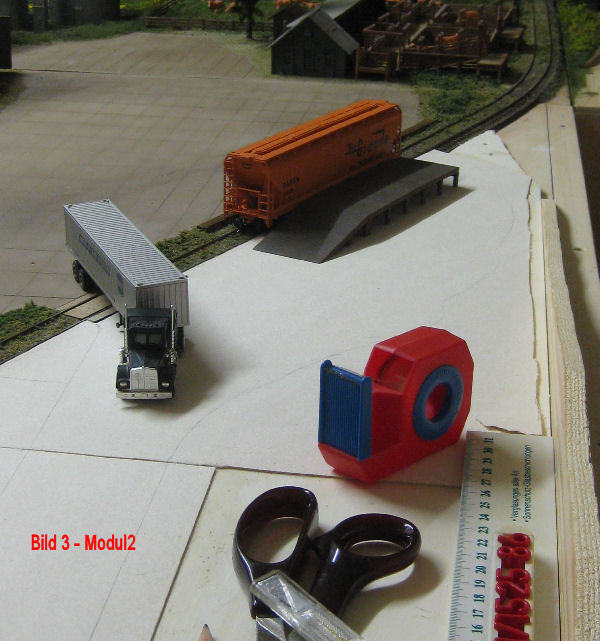
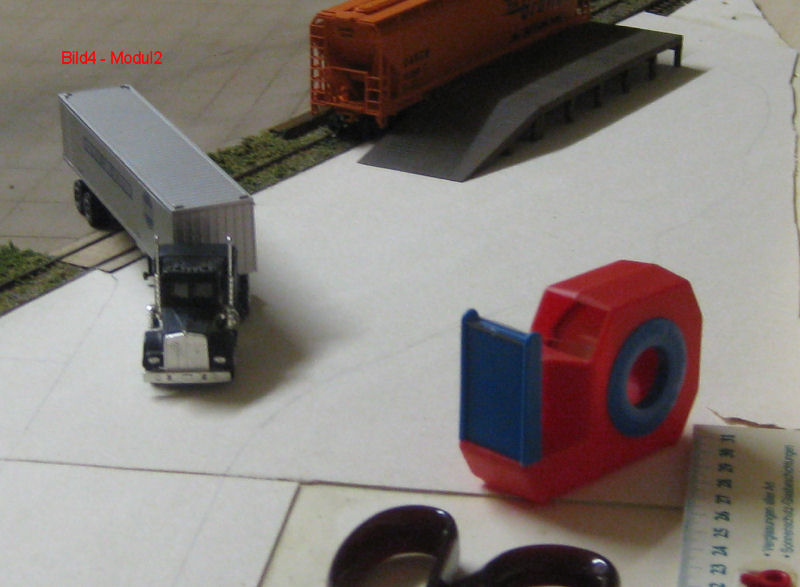
Fig. 3 - The finished shell around the railroad crossing to the loading road and loading ramp. No plastic sheeting was glued on here, since the pavement for the path and loading ramp area will consist of a sand/chippings mixture. Behind the terrain profile there is space for the background scenery.
Fig. 4 - Here, too, a close-up view.
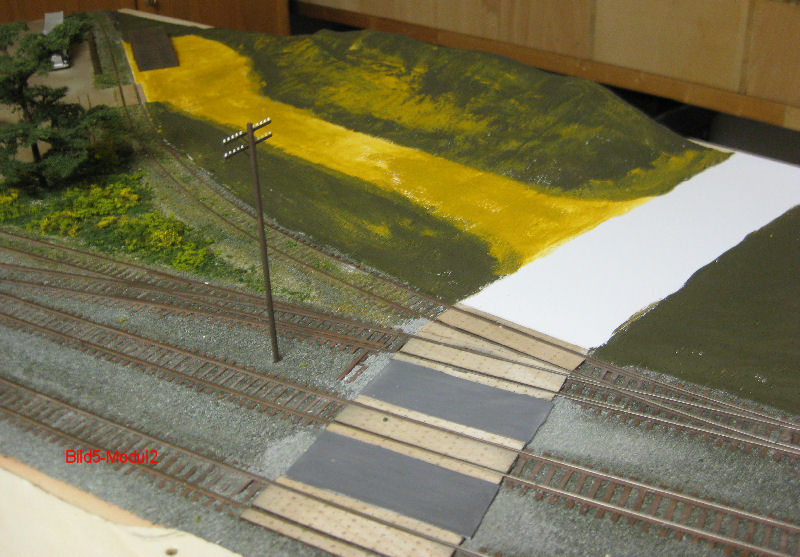
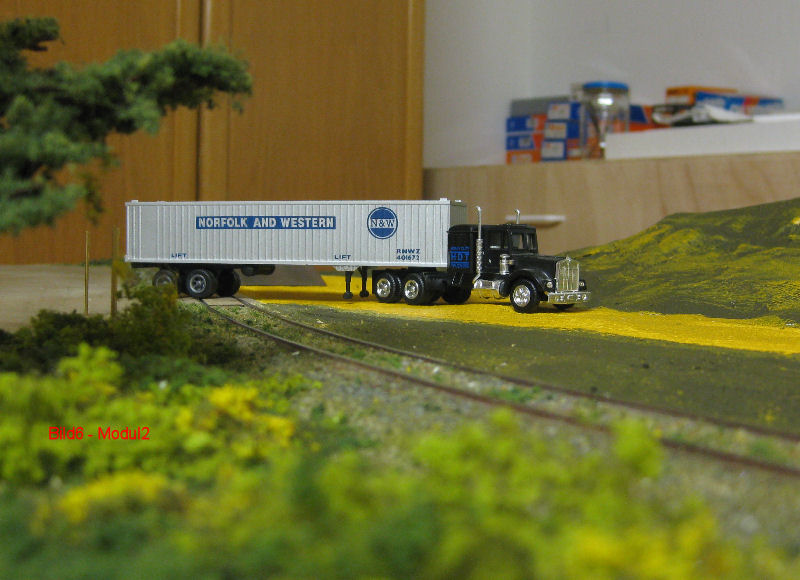 Fig. 5 - As with the outer edge, the hill shape was cut from polystyrene sheets using a hot cutter. After that, all edges and irregularities were filled with plaster. Plaster bandages were then applied over the whole (incl. later path, etc.). Then the paint was applied using binder paint. The path was kept in a mixed ochre tone, since the surface will later consist of a sand/chippings mixture. The telegraph poles have also been "planted". Andy has cut chesslik spikes for the mast to the appropriate length and painted them. The wire holders are ready-made plastic parts that Andy also colored accordingly. They were glued to the masts. Distance approx. 50cm. In the curves about 20cm.
Fig. 6 - A close up view
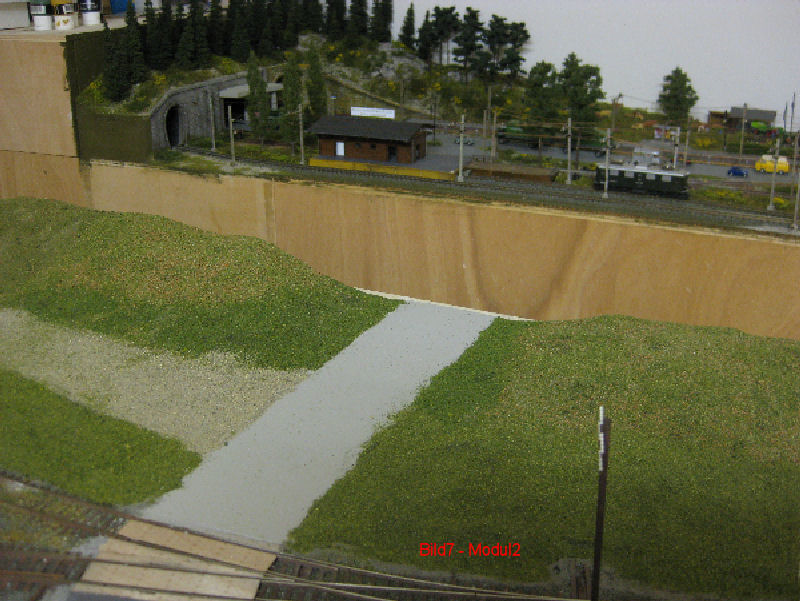
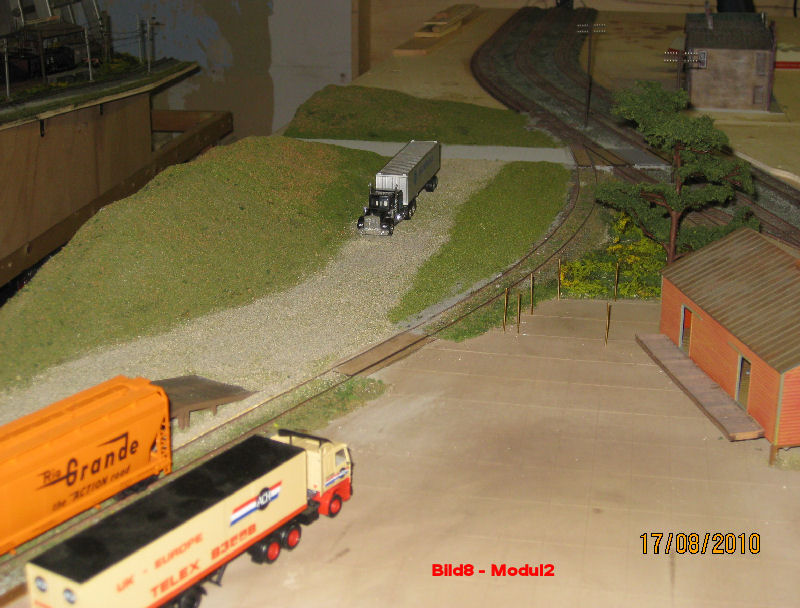 Fig. 7 - The first green! A mixture of Woodland turf and sand. The upper part of the hills will be wooded again later. The road was made of sand from a beach in the Canary Islands (I just can't remember which one! - maybe someone can help me!) Asoa fine gravel and mineral concrete. The road was painted with Heki concrete road paint. Materials see similar under construction instructions first and second green application.
Fig. 8 - Again somewhat larger again with Bernd`s old car
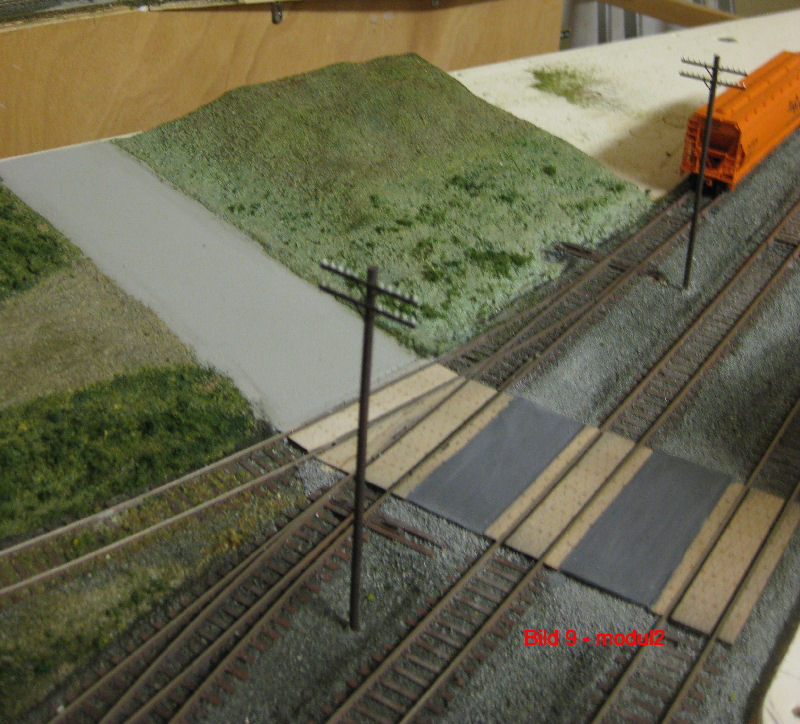
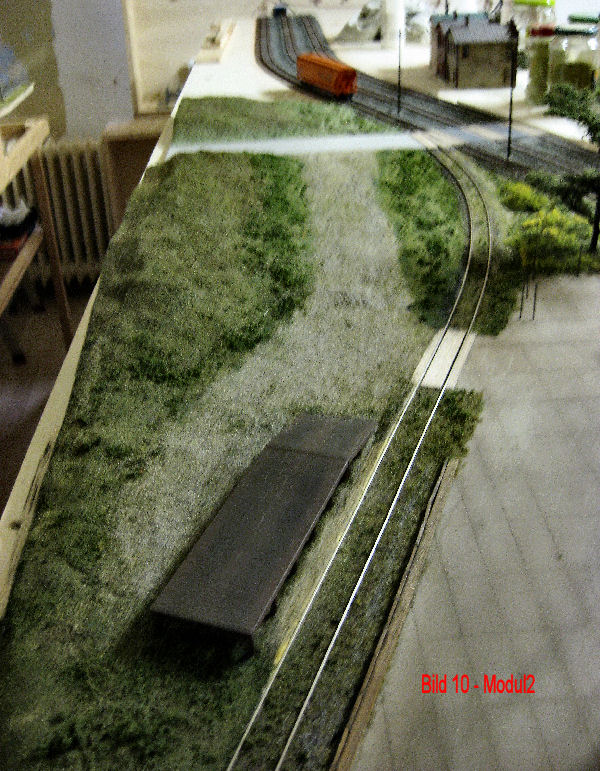 Fig. 9 - The second green! The later forest area was darkened with the turff color tone "Earth". The rest was lightened with the turff color tone "Weed, Blendet Turf - Earth and Yellow-Grass". In addition, Woodland flocking and Heki flakes in light and dark green.
Fig. 10 - The path was also lightened slightly with turfs.
The white veil disappears soon! The second application was again glued wet in wet. Here not yet completely dried. Do not worry if it also looks sooo first with you!
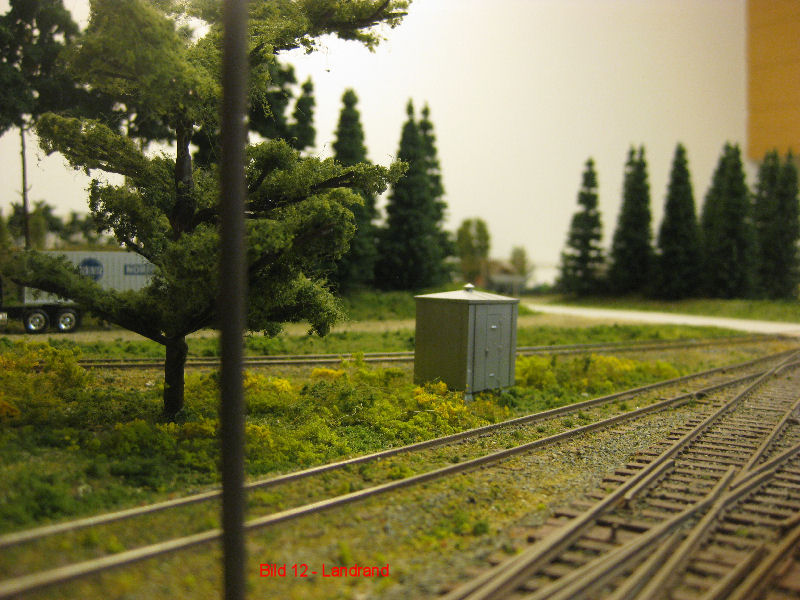

Fig. 11 and 12 - The trees (Heki) for the forest edge are set. A second order of greenery and undergrowth/bushes is still missing.
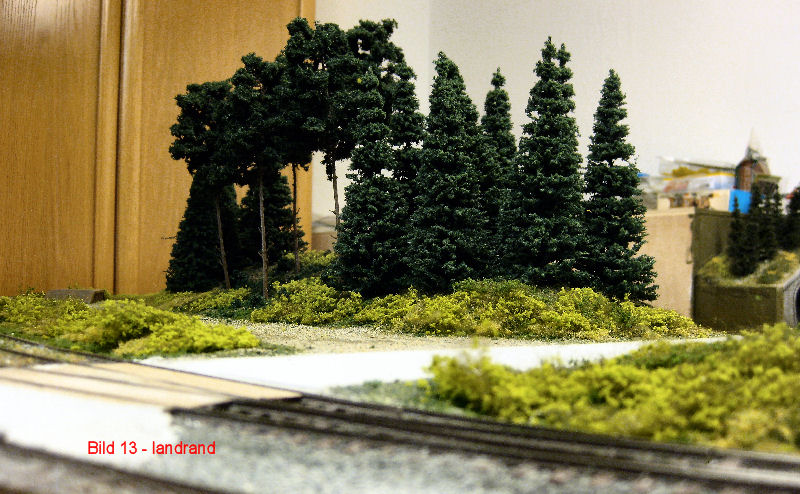
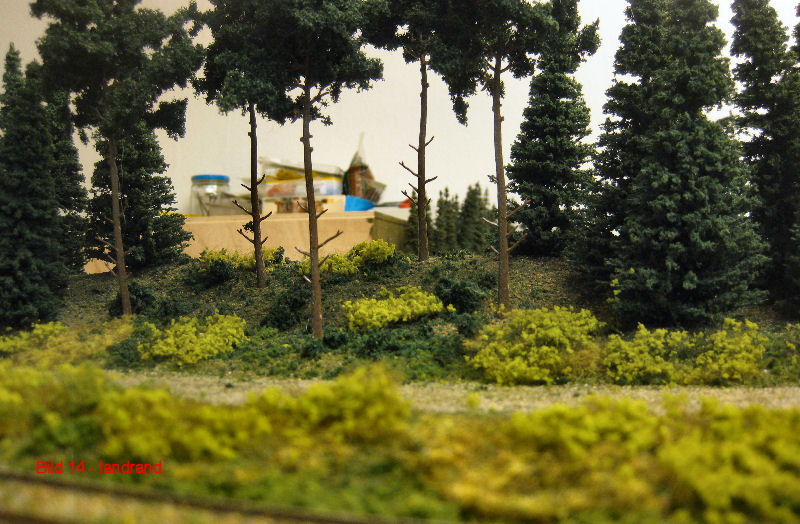 Fig.13 and 14 - The strip behind the tracks is finished. Remnants of tree foliage (always found in packs) were scattered between the trees. The edges were covered with Heki foliage in two shades of green and everything was glued wet in wet.
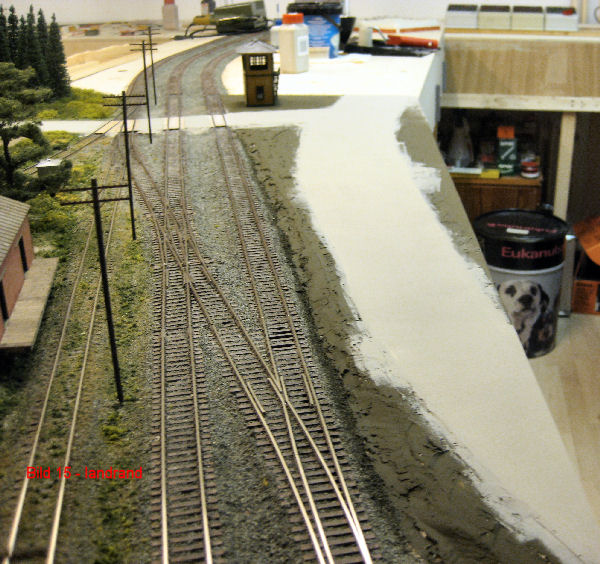
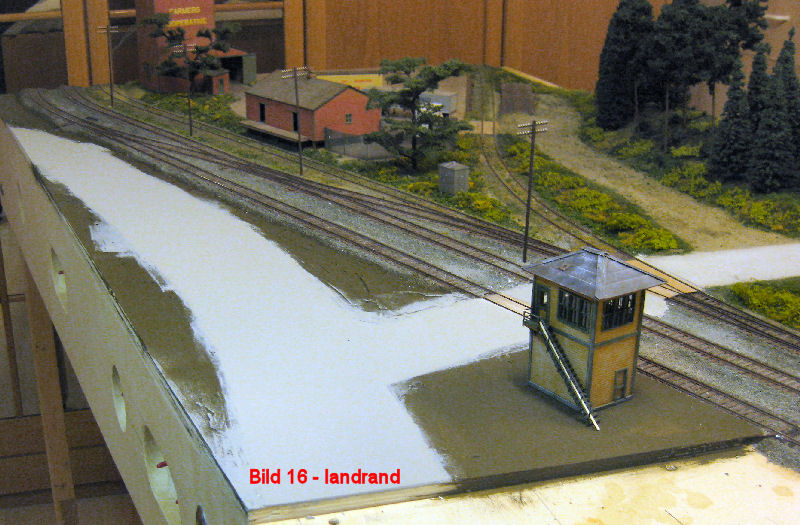 Fig. 15 and 16 - At the front edge of the module runs the road with connection to the level crossing. Basic construction as already described (6mm chipboard, a layer of 1mm Finnpappe and a plastic plate 1mm in the width of the road). The edges to the tracks and to the road were filled with model plaster. After that, the road was given its first coat of paint (Heki road paint). After that, the terrain was painted with olive green emulsion paint. After the paint had dried, the road was painted with Heki road paint for the second time using a paint roller. After drying, the road surface was lightly sanded with fine sandpaper. This gives the typical appearance of the road surface.
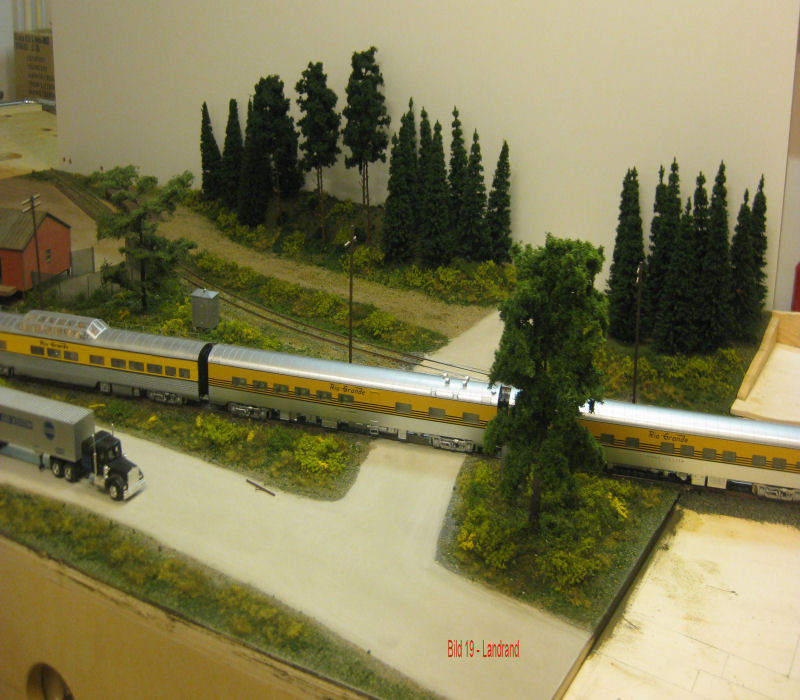
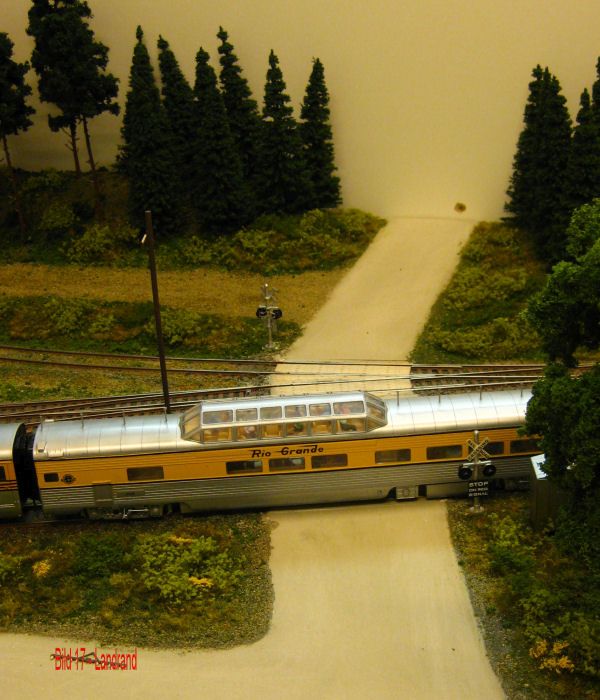 Fig. 17 and 19 - The front edge of the module is finished (except for road markings and signs). The warning lights for the level crossing are also installed.