
")
")
Dakota City Part 1
 A warehouse built and weathered by Bernd from a Conerstone kit (Walthers). Acrylic artist paints and artist glaze were used for aging. More on aging with these materials when building another kit. Bernd forgot to take pictures! Andy still donated roof superstructures and the advertising sign. Skippy" from Down Under, looking from the roof, was visiting. Maybe we will tell a story about him and his strange journeys.
 Construction of another half-relief warehouse from the Cornerstone series by Walthers. For the coloring and aging of the building, acrylic paints and glazes from artists' supplies were used in the main. In my opinion, these paints, which are thicker in consistency and were applied with a painter's brush, reproduce the concrete structure much better than normal oil paints for plastic kits applied with a spray gun. You will find the exact names and addresses of the materials used under the Building Instructions button.
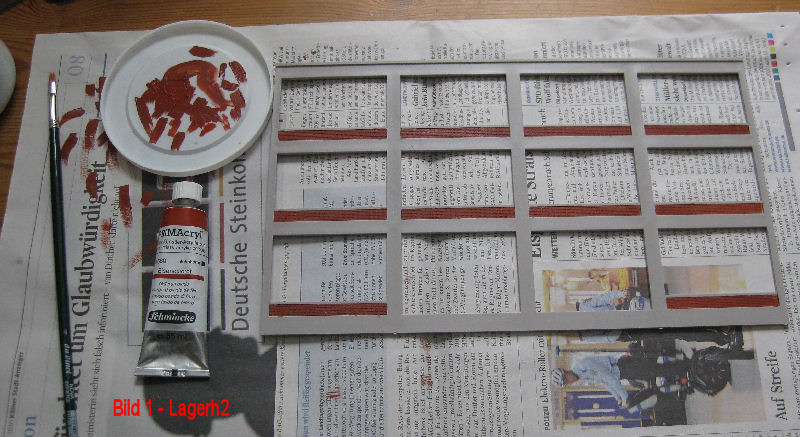
Fig. 1 - The basic framework of the building is a concrete skeleton framework. The compartments under the windows etc. are lined with bricks. These brick bands were laid out with iron-red acrylic paint from Schmincke.
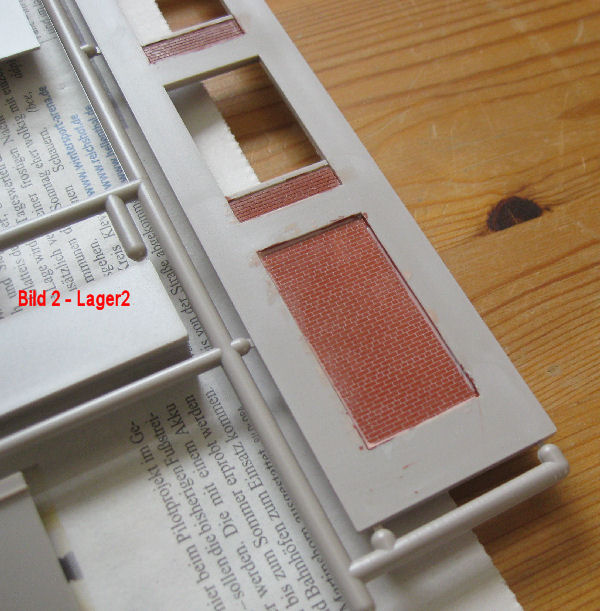
Fig. 2 - A larger section of wall in a side wall.
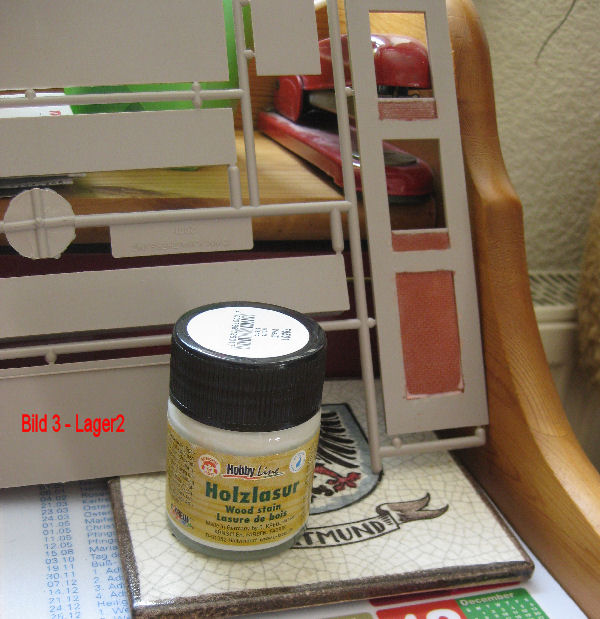
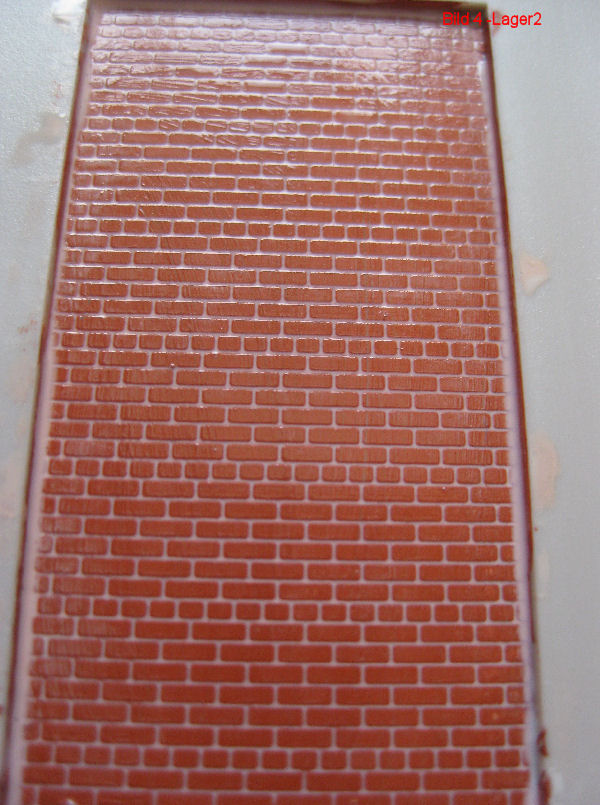
Fig. 3 - The masonry joints were covered with white wood glaze. For this purpose, the entire surface was coated with the glaze and then the masonry was immediately wiped again with a rough cloth (dishcloth!). The glaze is very thin. Runs with it prima into the joints. Instead of the rag can also be used a rough piece of felt.
Fig. 4 - The finished joints in a larger section of the wall.
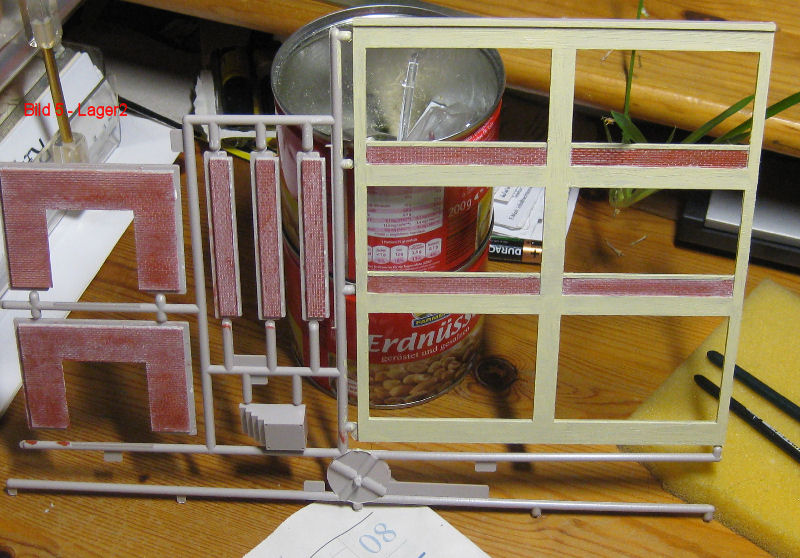
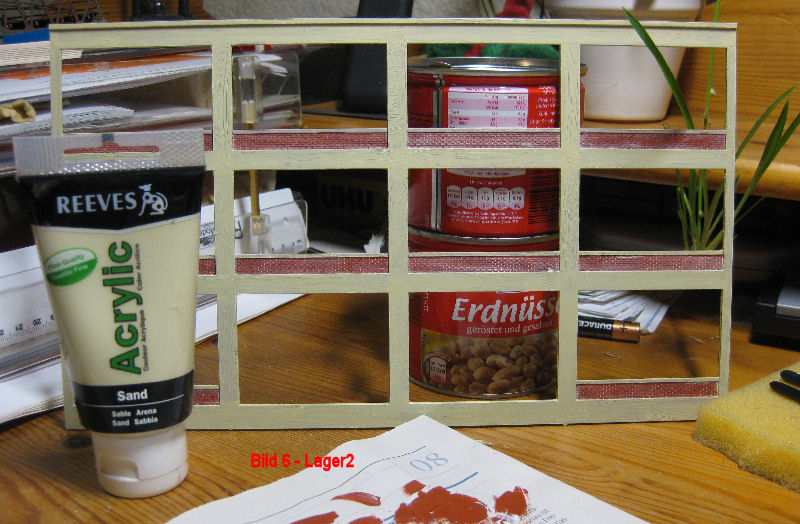
Fig. 5 - The concrete framework of the building was colored with a sand-colored acrylic paint.
Fig. 6 - Again a wall part with the paint tube from Reeves standing in front of it.
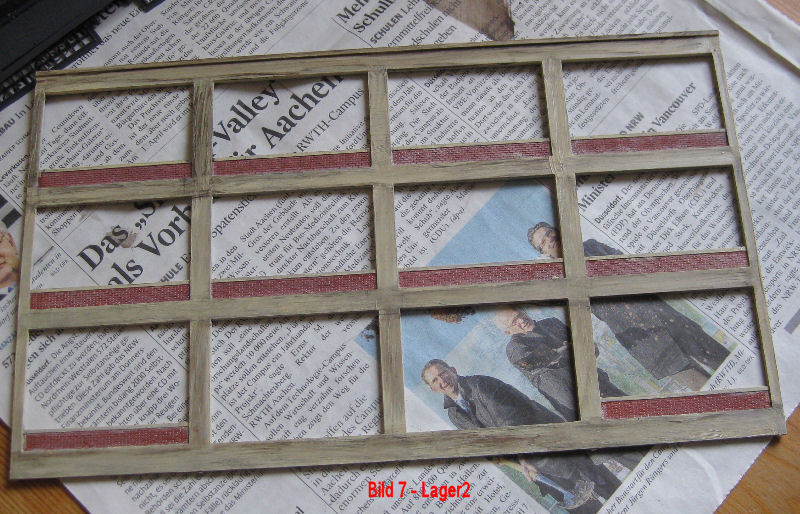
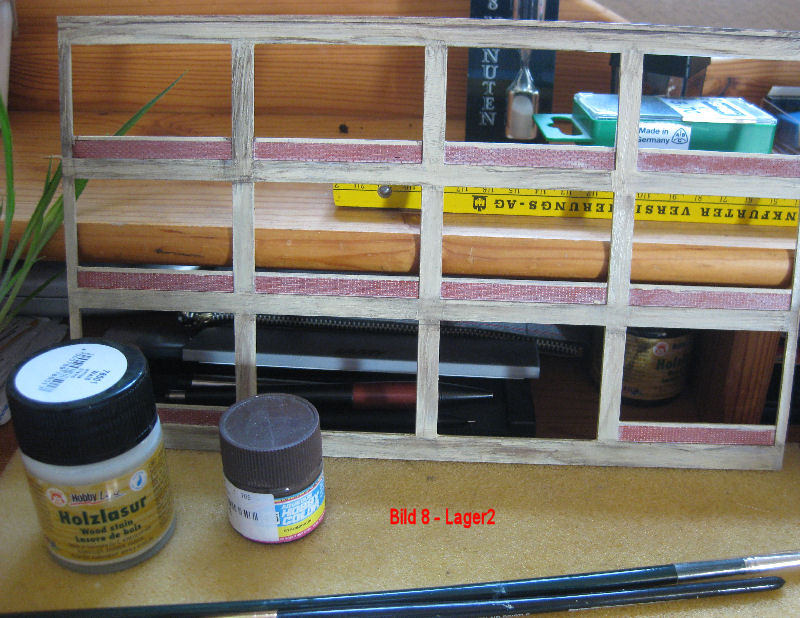
Fig. 7 - For weathering, the first step was to apply black wood stain. This runs beautifully into the "bumps" left by the brush strokes. After the glaze has dried (24 hours), the concrete surfaces were painted in two steps with acrylic paint Raw Umber and diluted dust-brown oil paint and immediately removed with a rag. This leaves only a very weak "dirt/dust" layer.
Fig. 8 - The wall part with the colors in front of it.
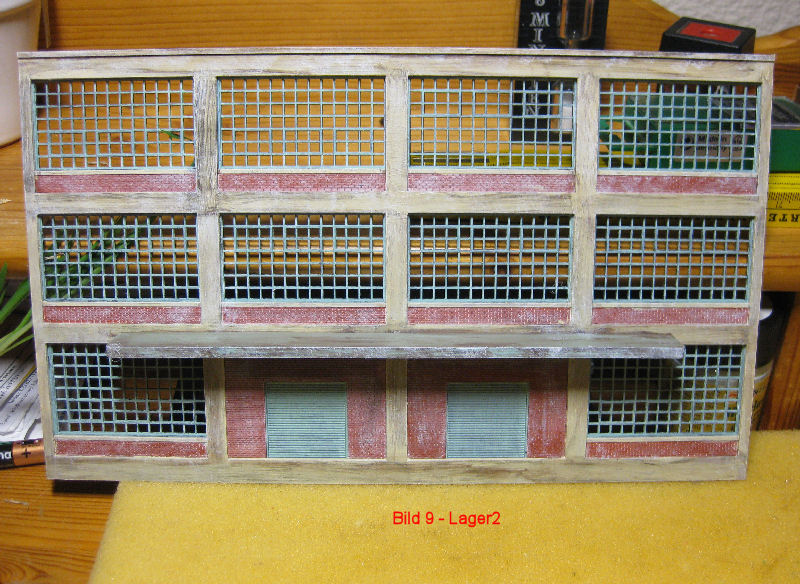
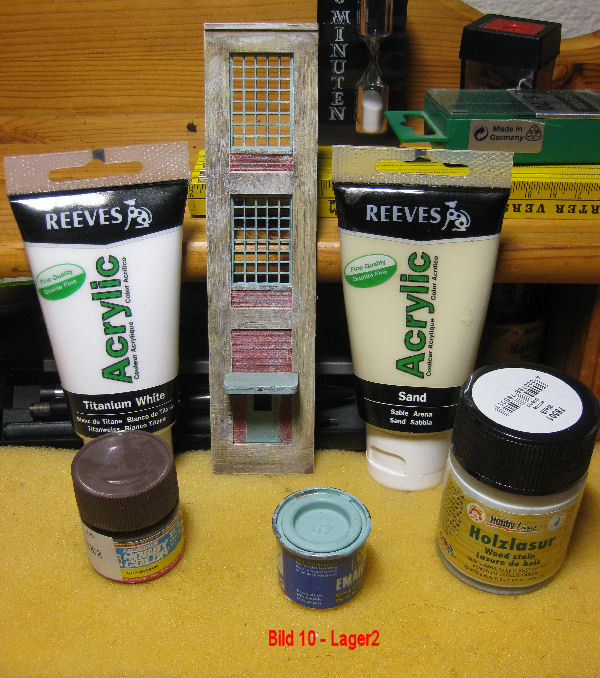
Fig. 9 - Windows, gates and canopies were painted with a blue-grey Revell paint (No. 49). Here I have applied the paint partly not fully covering. Thus a slightly "rotten" paint is reproduced. Here, too, I treated with dusty brown. Then the edges of the wall parts were glazed with white acrylic paint. Pick up the paint with a brush. Then spread the brush on paper or a piece of wood until almost dry and apply the white paint with the now almost dry brush. This gives just a hint of white paint on the masonry, but emphasizes the edges. If you want, you can still apply light mossing in the same way with the acrylic paint Chromium Oxide Green.
Fig. 10 - A finished part of the wall. In front of it the colors used for aging and weathering.
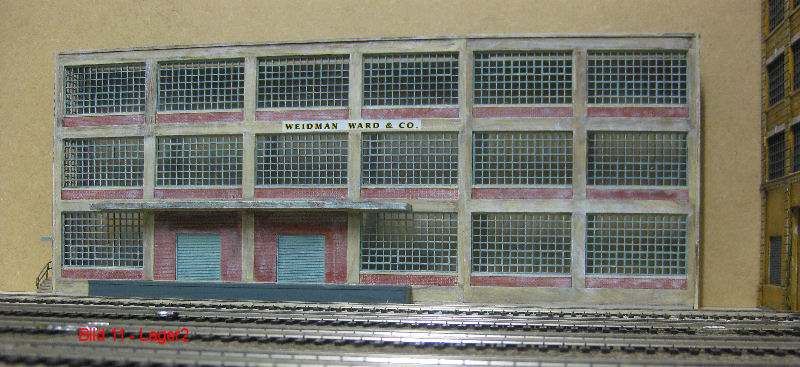
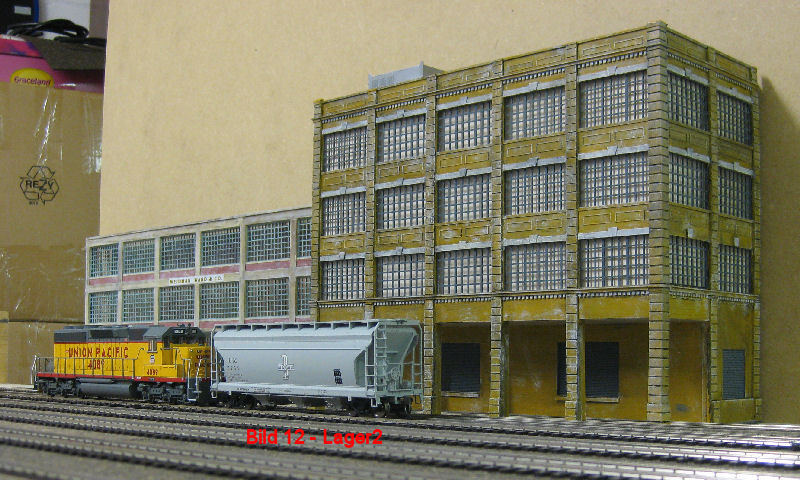
Fig. 11 - The finished building
Fig. 12 - Both storage buildings with Andy`s birthday present. A SD 40-2 of the Union Pacific.
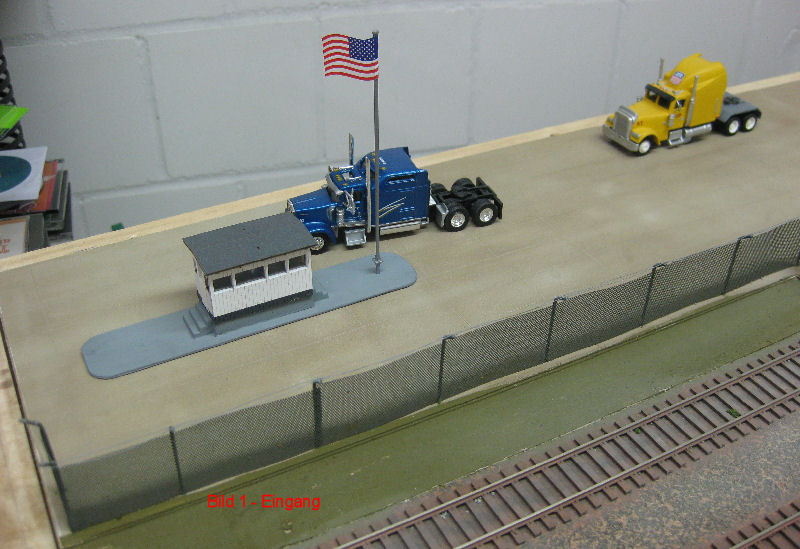
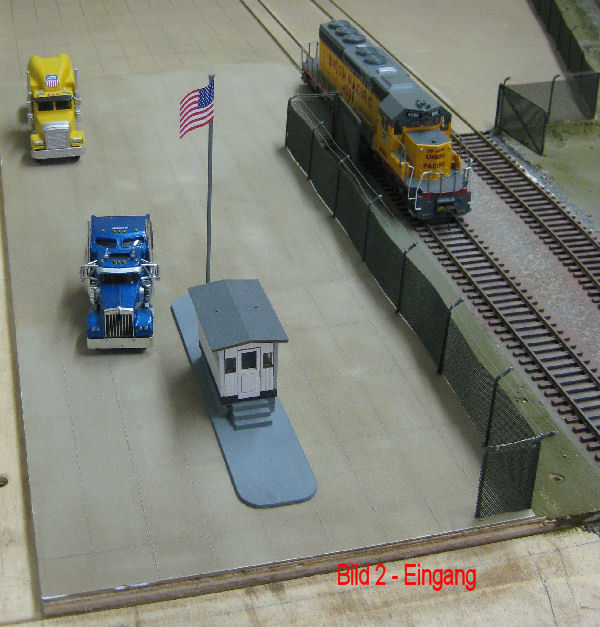 Control building for the truck entrance of the trailer/container station
The basis of Andy`s tinkering was the laser cut kit Checkpoint Charly from Busch. Andy added a base plate and a platform with stairs. Due to the platform, the windows are now at the same height as the cab windows of the trucks. The Controletti has already taken his place. Now a name plate will be made and the fence will be completed in the area of the truck entrance. Of course, the roadway markings are also still missing. Poor Andy!

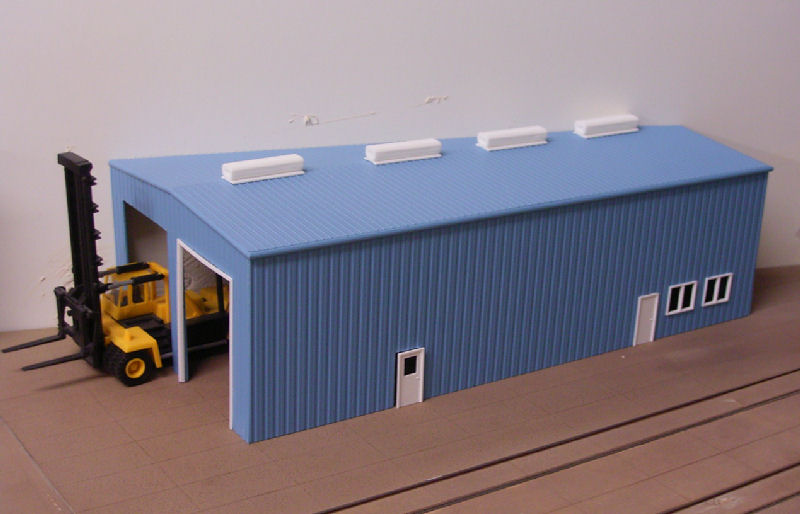 The container yard gets a workshop building from us in which e.g. container chassis and the forklifts can be serviced. We use a kit from Pikestuff No. 541-0008 "Enginehouse 1 or 2 Doors". It is actually a 2-door enginehouse. But because of the design it can also be used as a workshop. Since the front and side walls do not have doors and windows punched out at the factory, you can attach them individually. The recesses for them are only pre-punched from the inside. You can then cut them out yourself with a scalpel according to your own wishes. Since we want to place the workshop on the sloped background, Andy had to adjust the shape of the building.
The building is still being painted and completed.