
")
")
Here we will post topics about technology that do not fit under the topics of the button plant engineering.
Centerbeam with load
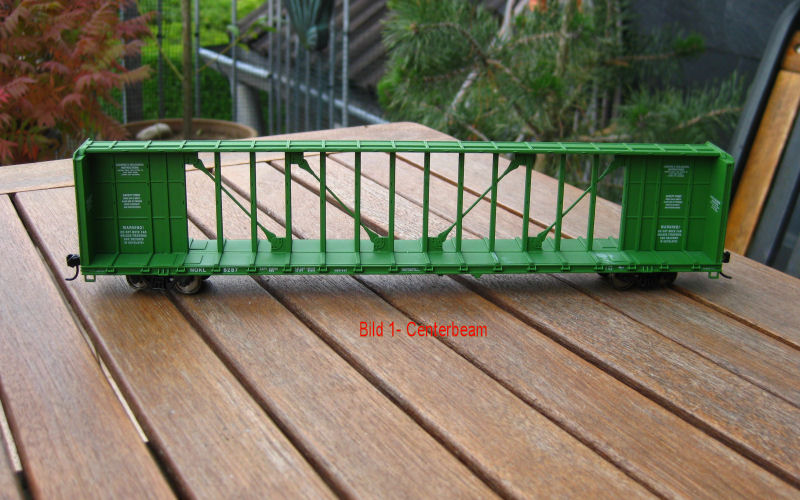
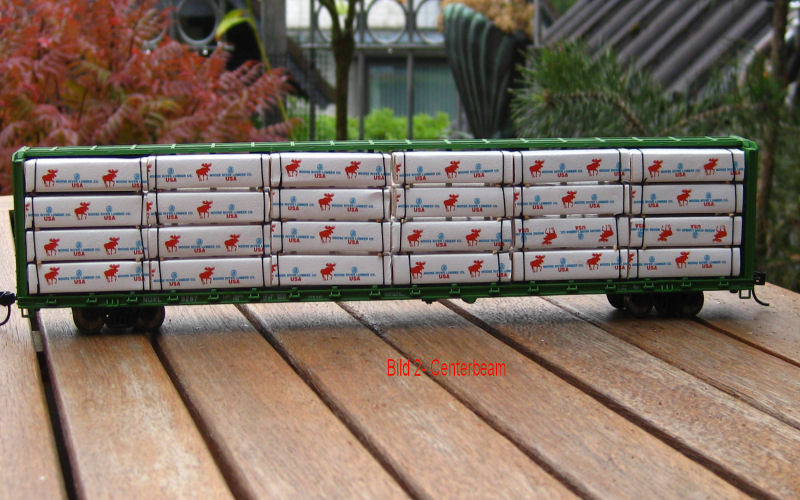 Fig. 1 - Bernd really wanted to have centerbeams. For a long time they were not available (at least not cheap!). Now Walthers has reissued cars in their ready-to-run series. These are 72`Centerbeam Flat Cars of several railroad companies. Price at All American Trains from Kaarst 23,90 EUR. The cars are already equipped with Kadee-Magnetic couplers. My poor Andy had to go out again to get 2 cars. One car of the UP in brown color scheme (for once not canary yellow!) and one car of the NOKL (Northwestern Oklahoma Railroad (BNSF) in green color scheme (gaade-pörzjes-grön! For non-Cologne residents! - Gartentörchengrün!).
Fig. 2 - The whole loaded.
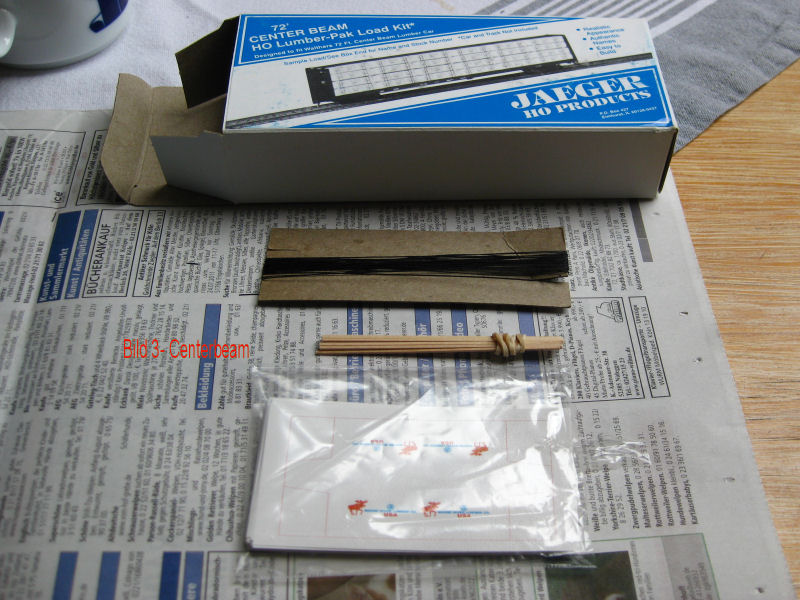
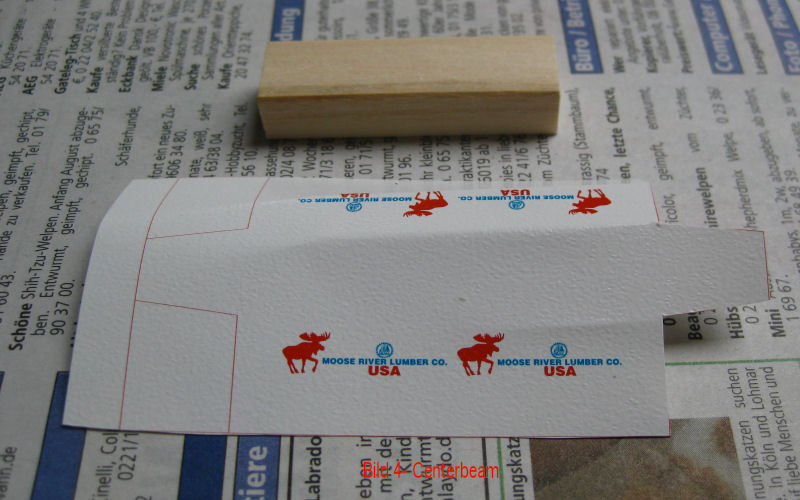 Fig. 3 - Since Andy had now once driven from Neuss to Kaarst (falls Him of course incredibly difficult to drive to his favorite store!), He had to get for Bernd of course also the load for the vehicles. These are kits from Jaeger HO Products called 72` Center Beam HO Lumber-Pak Load Kit (#6950). Kits in the warsten sense of the word. On the picture the 48 wooden blocks are still missing. Two rows (24 packs) took me about 5 hours..and half a bottle of red wine. I can already see Andy's grin! Of course, the guy does not say anything before!
Fig. 4 - The first step. The wrapping of the "package". A very nicely printed wrapping paper for the moisture-sensitive goods (panels or parquet?) must be cut to fit and then wrapped around the wooden block. The paper is longer, like the log! So, trim it at one end. A sharp, preferably small scissors is very useful.
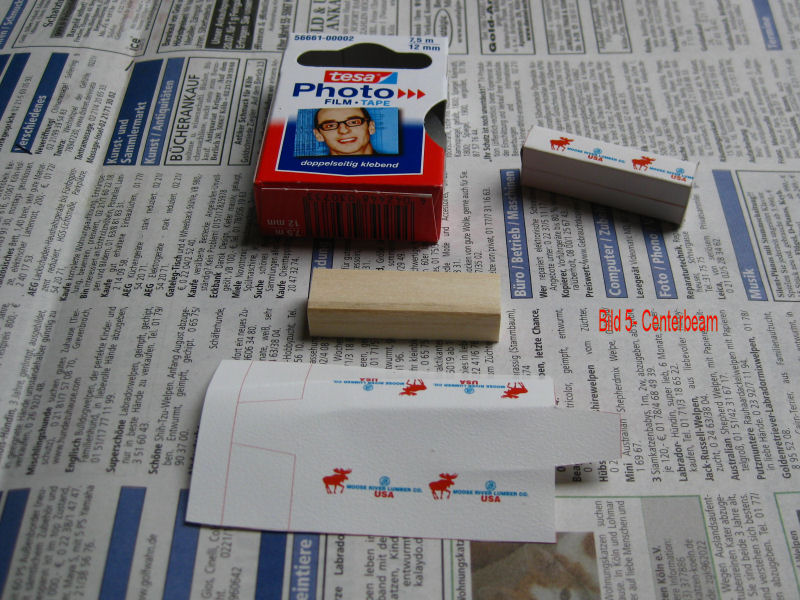
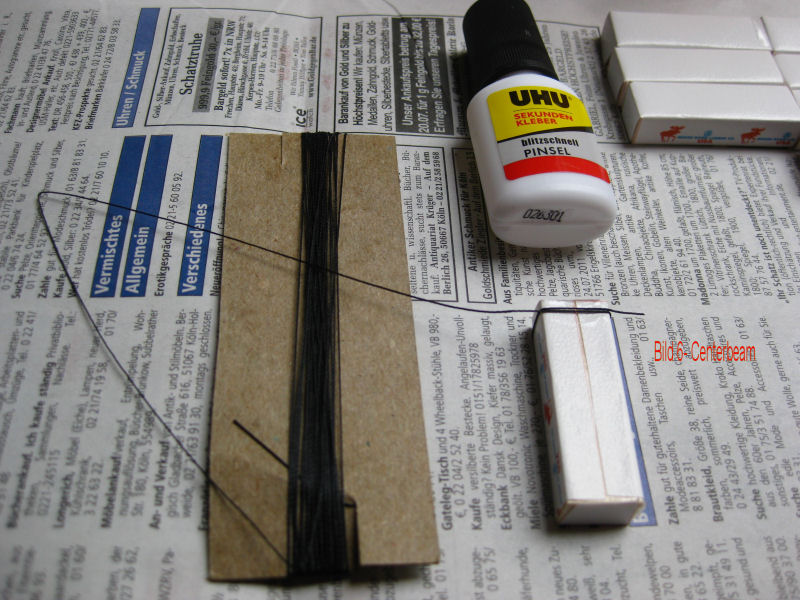 Fig. 5 - To attach the paper to the wooden block, I got some double-sided adhesive tape from Tesa at the hardware store. It has exactly the width of the wooden block. A strip is glued to one side of the block and then the paper (exactly aligned!) tightly wrapped around the block and attached to the adhesive strip.
Fig. 6 - Now comes the funniest part. Of course, the packages are wrapped with ribbons at both ends. For this purpose, the supplied thread is used in the model. Of course, it won't hold on the tape. So. My favorite glue! Superglue! Apply to the underside of the block. Apply thread (Of course, fingers stick first!) Blow and wrap the thread around the whole package and press back into the (sh..)glue. Cut off. Done!
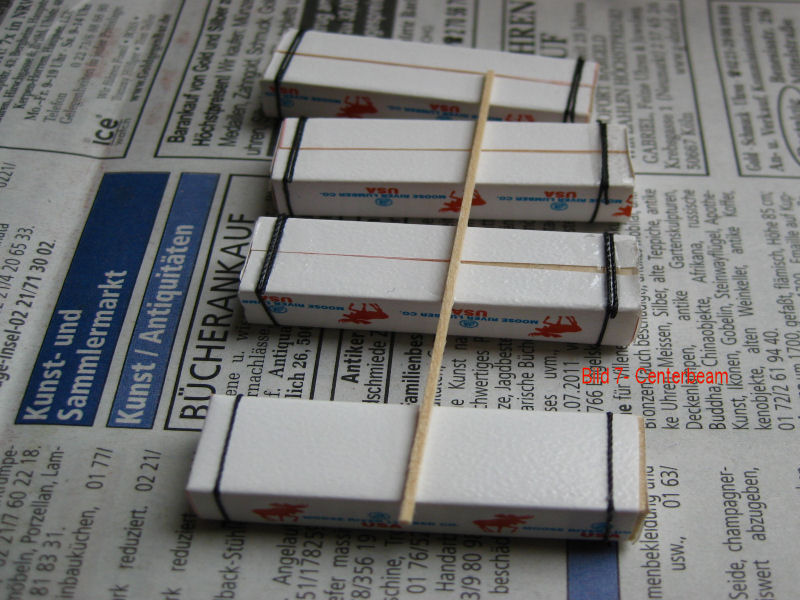
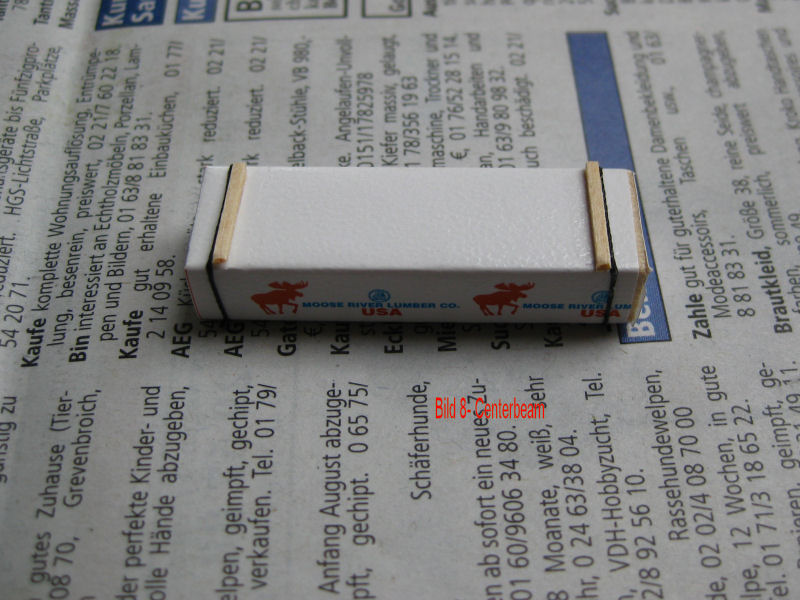 Fig. 7 - Next, wooden strips are glued to the packages. The respective stacks are 4 packages high. The lowest package rests on the steel girders of the vehicle. No ledge is required here. The packages above get a wooden strip on their top at each end. Glued again with superglue.
Fig. 8 - that's how it should look.
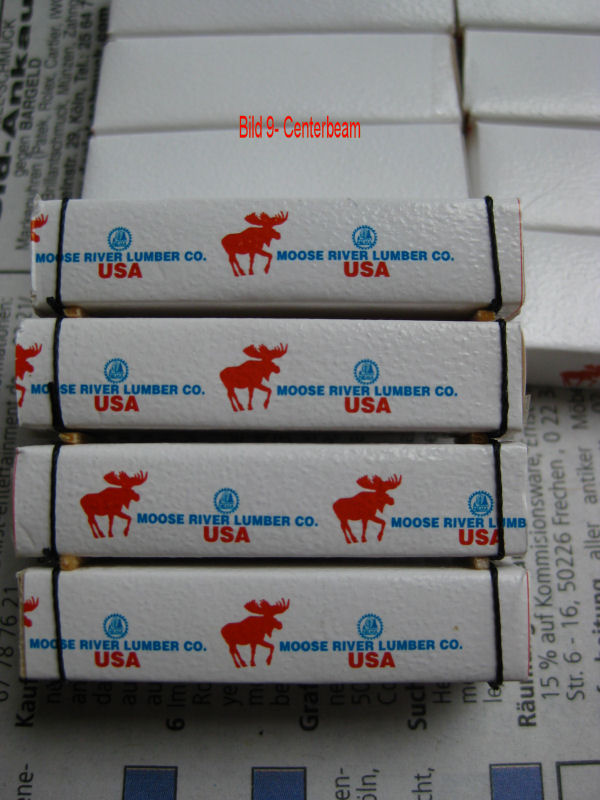
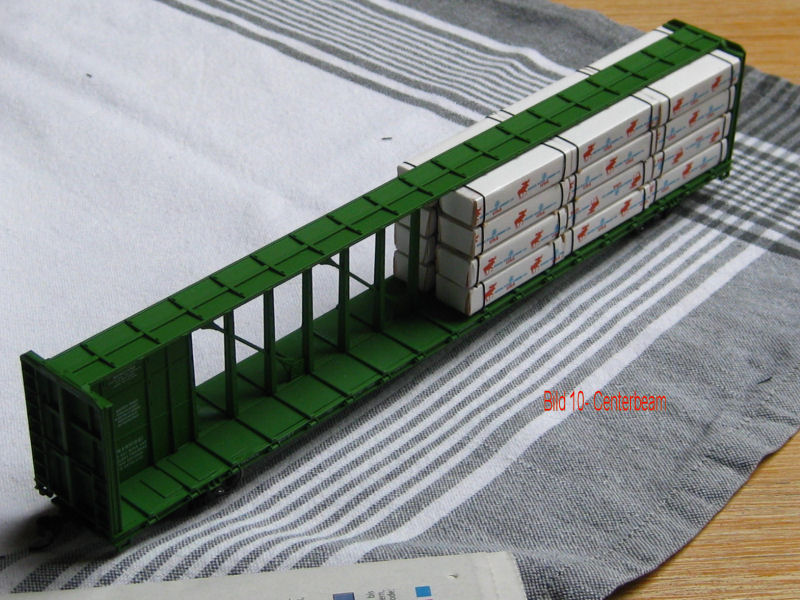 Fig. 9 - Now the stack can be glued as shown in the picture.
Fig. 10 - This is how it looks on the vehicle. I also glued the three stacks together. Now another 5 hours for the remaining stacks. Then the vehicles go first to Andy! Aging my age! Punishment must be. Afterwards still from the wagon roof up to the fastening roles at the soil of the vehicle bracing tapes from the binding threads are attached. I report further! Takes but ...
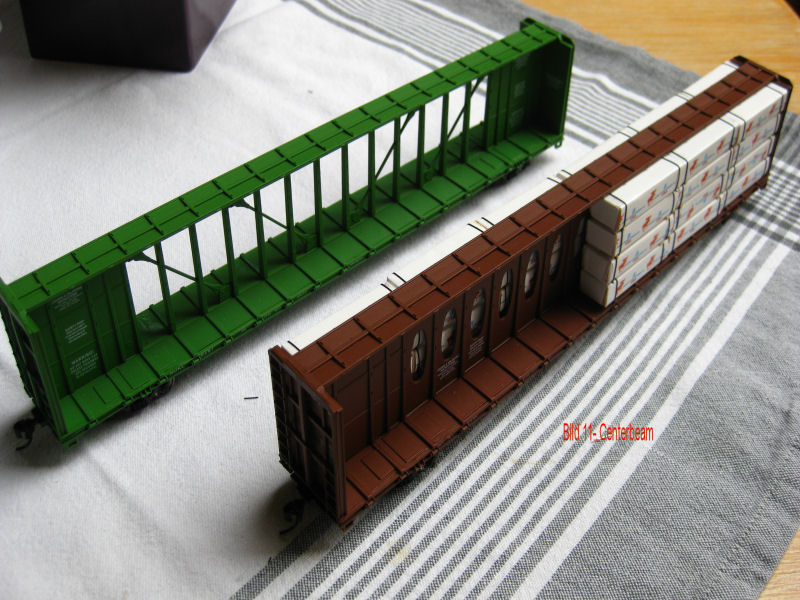
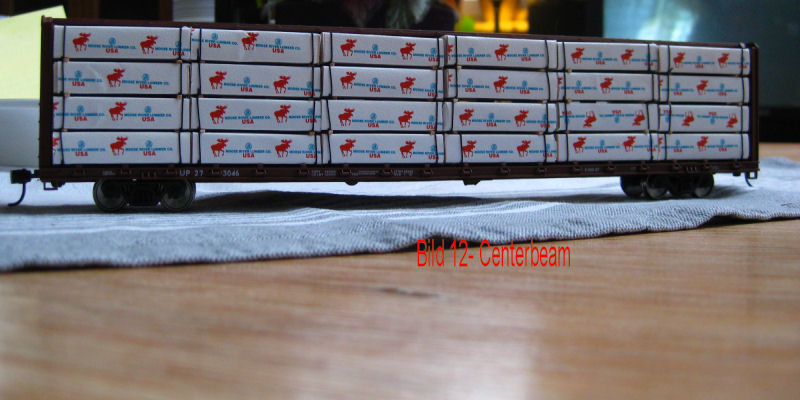 Fig. 11 - Both cars in comparison. In front, the brown centerbeam of Union Pacific. Behind it, the NOKL car. The centerbeam has a different design. The loading area of the car is 72 ft long - about 22 m.
Fig. 12 - Once again the UP center beam fully loaded.
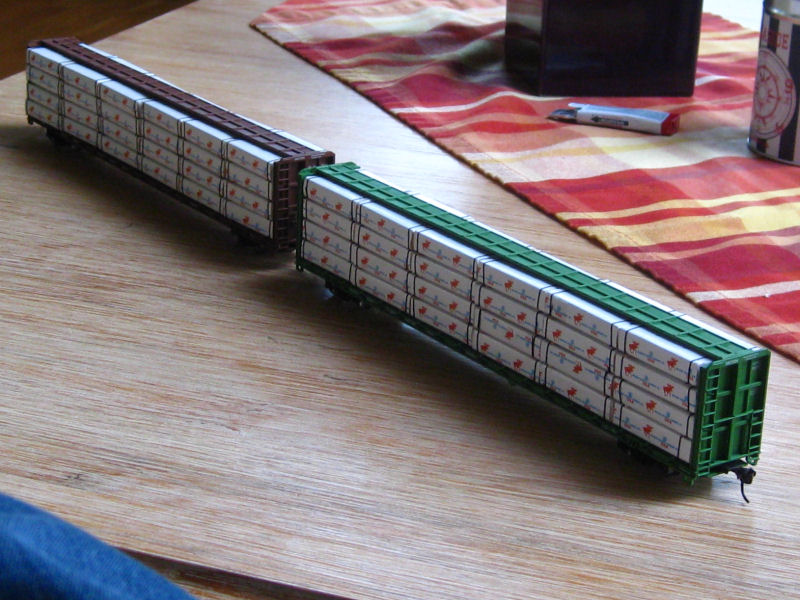 Fig. 13 - Both loads are finished